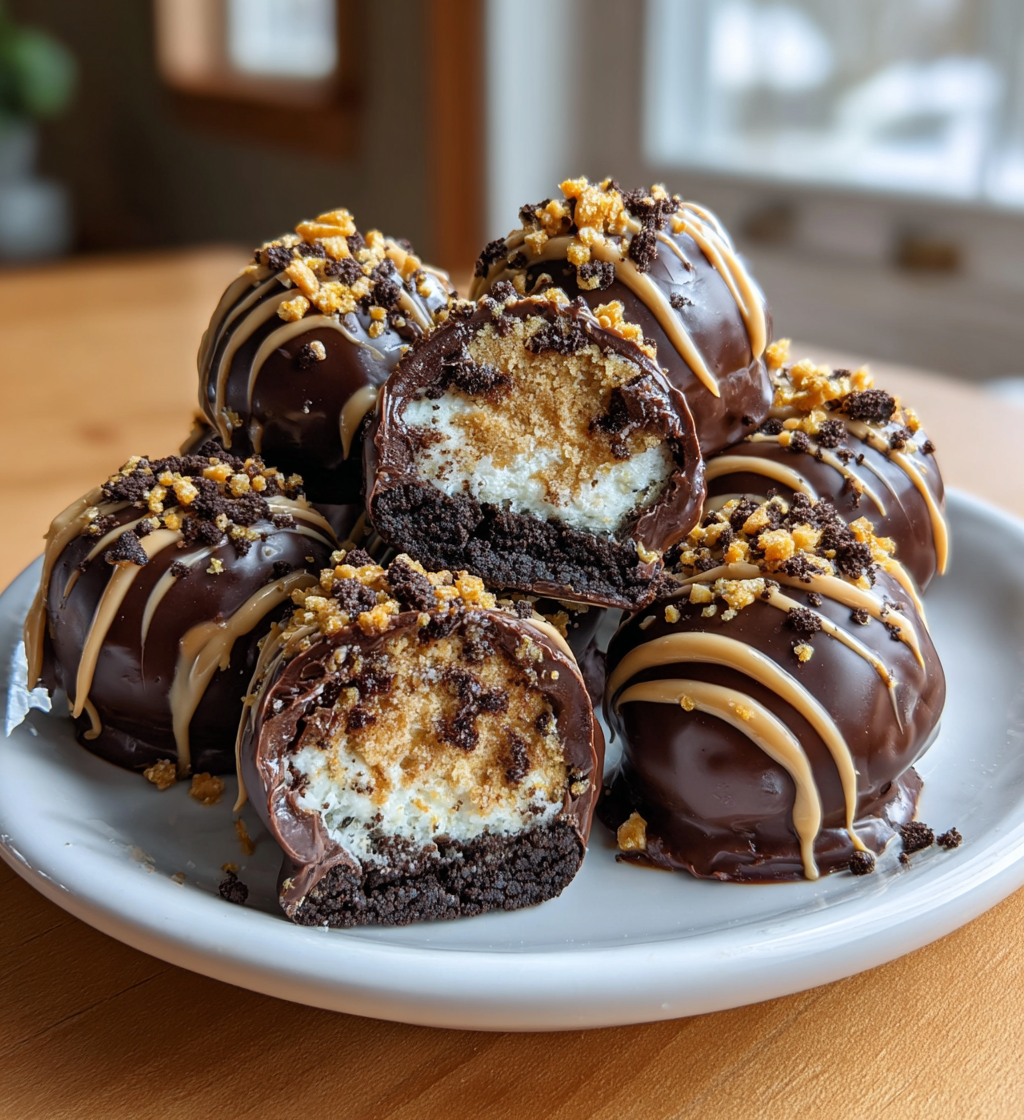
If you are looking for a no-bake treat that takes almost no effort but tastes completely incredible, these Reese’s Oreo Balls are exactly what you need. Crushed Oreo biscuits, smooth peanut butter, and cream cheese come together to form a rich, fudgy truffle centre, dipped in a glossy chocolate shell and finished with a drizzle of peanut butter for that unmistakable Reese’s flavour in every bite. They are dangerously easy to make, impossible to stop eating, and absolutely perfect for parties, gifting, or whenever that chocolate-peanut butter craving strikes.
No oven, no complicated steps, and no specialist equipment required. Just a handful of simple ingredients, a little rolling and chilling, and you will have a tray of beautiful chocolate truffles that look and taste like they came from a professional chocolatier. Once you make these, they will become your go-to no-bake treat for every occasion.
Why You Will Love This Recipe
- Completely no-bake — not a single second of oven time required
- Ready in under 30 minutes, plus a short chilling time
- That iconic chocolate and peanut butter combination in every bite
- Perfect for parties, celebrations, edible gifts, and bake sales
- Simple enough for kids to help make
- Can be made up to 2 days ahead and stored in the fridge
A Note on UK Ingredients
Reese’s products are widely available across the UK — you will find Reese’s Pieces, Reese’s peanut butter chips, and Reese’s peanut butter in most major supermarkets including Tesco, Sainsbury’s, Asda, and Morrisons, as well as in American sweet shops and online retailers. Smooth peanut butter from any brand works brilliantly here if Reese’s peanut butter is not to hand. For the chocolate coating, good quality milk or dark chocolate melting wafers give the best finish, but a standard bar of chocolate melted carefully works just as well.
How to Make No-Bake Reese’s Oreo Balls
Step 1 — Crush the Oreos
Place the Oreo biscuits into a food processor and blitz until they form fine, uniform crumbs — the texture should resemble dark sand. If you do not have a food processor, place the biscuits into a zip-lock bag and crush thoroughly with a rolling pin until no large pieces remain. Fine crumbs are important here as they give the filling its smooth, truffle-like texture.
Step 2 — Make the Filling
Transfer the Oreo crumbs to a large mixing bowl. Add the softened full-fat cream cheese, smooth peanut butter, and vanilla extract. Mix everything together with a spatula or electric hand mixer until completely combined and a thick, dough-like mixture forms. It should hold together when pressed between your fingers without being sticky. If the mixture feels too soft, add a small handful of extra Oreo crumbs and mix again.
Step 3 — Roll Into Balls
Line a large baking tray with baking parchment. Scoop tablespoon-sized portions of the mixture and roll between your palms into smooth, even balls — you should get approximately 20–24 balls from this recipe. Place each ball onto the lined tray, spacing them apart so they are not touching. Once all the balls are rolled, place the tray in the freezer for 20–25 minutes, or in the fridge for at least 1 hour, until completely firm. This chilling step is essential — it prevents the balls from falling apart when dipped in chocolate.
Step 4 — Melt the Chocolate
Break the chocolate into a heatproof bowl and melt in 30-second bursts in the microwave, stirring well between each interval, until completely smooth and glossy. Alternatively, melt over a pan of barely simmering water, making sure the bowl does not touch the water. Allow the melted chocolate to cool for 4–5 minutes before dipping — chocolate that is too hot will melt the chilled filling and cause the balls to fall apart.
Step 5 — Dip in Chocolate
Remove the chilled balls from the freezer. Using a fork or a chocolate dipping tool, lower each ball into the melted chocolate, roll to coat evenly, then lift and allow the excess to drip off before placing back onto the parchment-lined tray. Work quickly and return any balls that start to soften to the freezer for a few minutes before continuing.
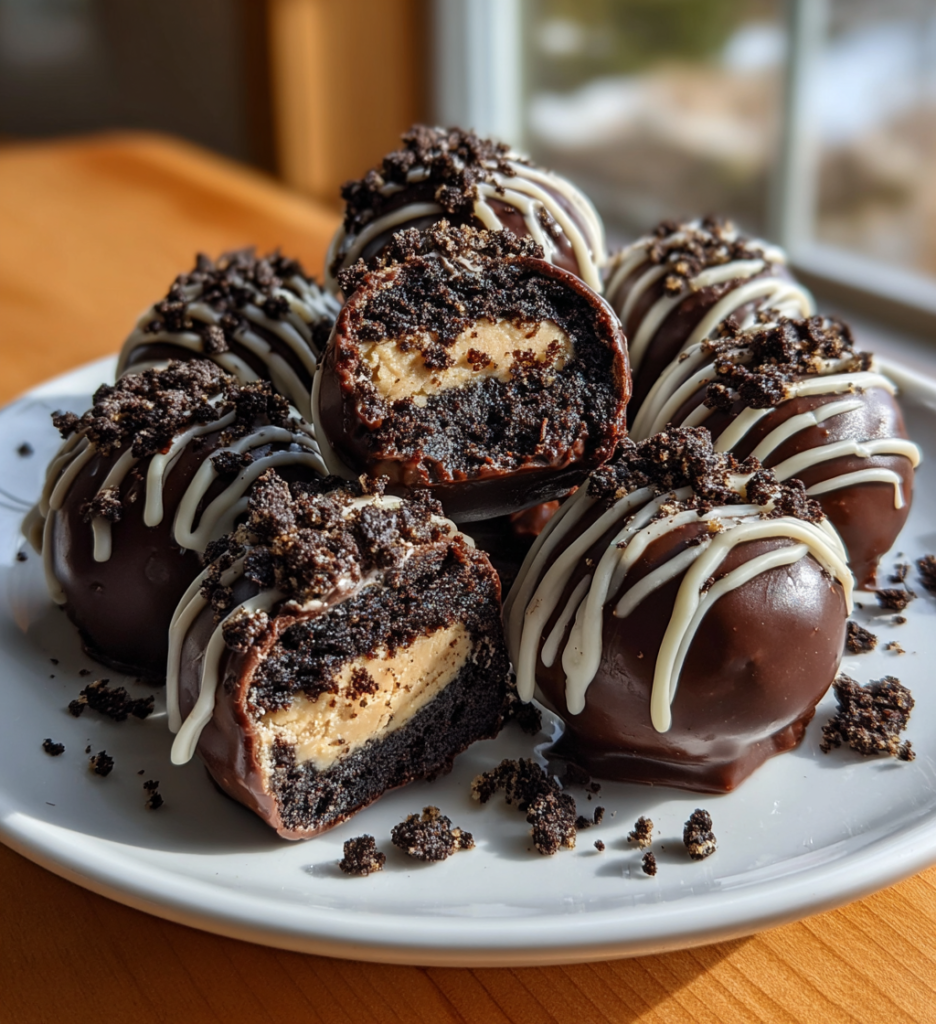
Step 6 — Decorate and Set
While the chocolate coating is still wet, decorate immediately. Melt a small amount of peanut butter chips or smooth peanut butter in the microwave and drizzle over the tops of the coated balls using a teaspoon or a small piping bag. Add a scattering of crushed Reese’s Pieces on top for colour, crunch, and that extra peanut butter flavour. Leave to set at room temperature for 15–20 minutes or place in the fridge to firm up in about 10 minutes.
Tips for Perfect Reese’s Oreo Balls Every Time
- Make sure the cream cheese is fully softened to room temperature before mixing — cold cream cheese will leave lumps in the filling
- Chill the rolled balls until completely firm before dipping — this is the single most important step for a clean chocolate coating
- Allow the melted chocolate to cool slightly before dipping — overly hot chocolate will melt the filling
- Work in small batches when dipping — keep the remaining balls in the freezer while you coat each one
- Use gel food colouring or white chocolate drizzle to colour-coordinate for different occasions — pink for Valentine’s Day, orange for Halloween
- Fine Oreo crumbs give the smoothest filling — make sure no large biscuit pieces remain before rolling
How to Store Reese’s Oreo Balls
Store the finished Oreo balls in an airtight container in the refrigerator for up to one week. Because of the cream cheese in the filling, they must be kept chilled. Allow them to sit at room temperature for 10 minutes before serving for the best flavour and texture. They also freeze beautifully — place in a single layer in a freezer-safe container and freeze for up to 2 months. Thaw overnight in the fridge before serving.
Variations to Try
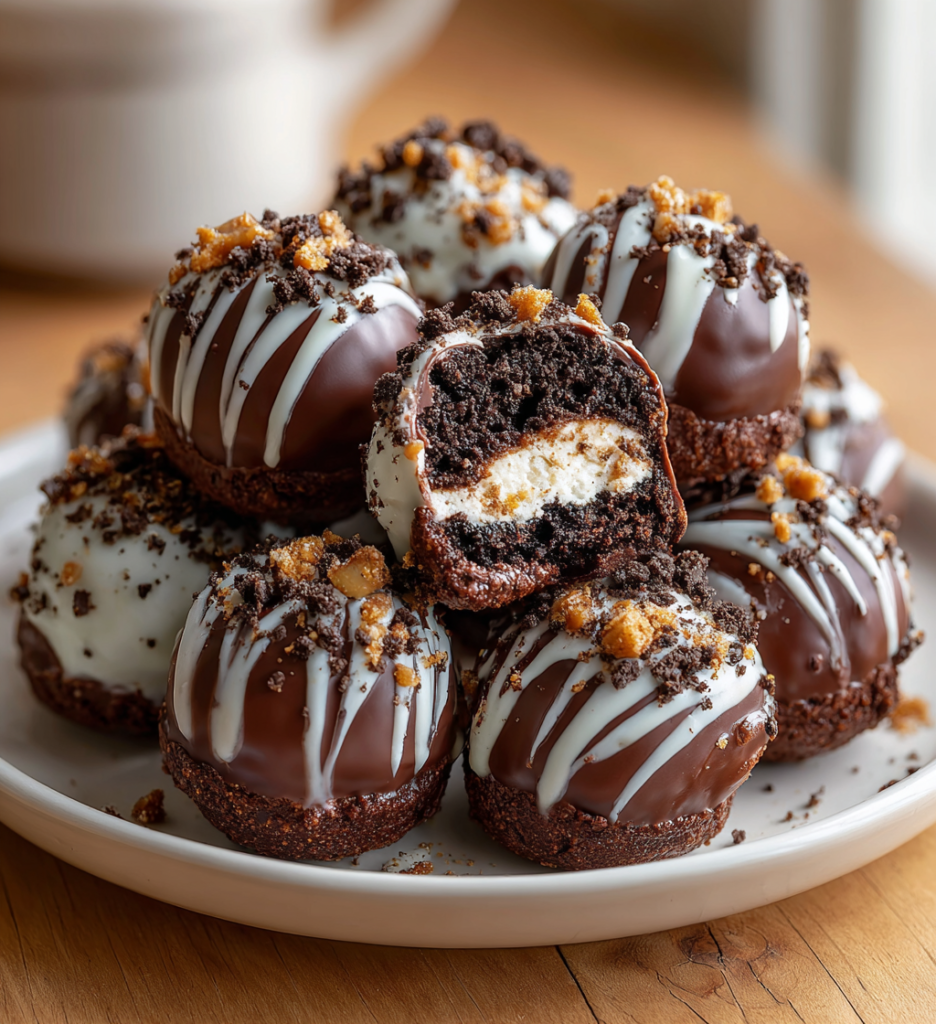
- White chocolate coating — Dip in melted white chocolate instead of milk or dark for a sweeter, creamier finish
- Double chocolate — Use chocolate-flavoured cream cheese or stir in a tablespoon of cocoa powder for an extra-rich filling
- Crunchy peanut butter — Swap smooth peanut butter for crunchy for added texture throughout the filling
- Mint Oreo balls — Use mint-flavoured Oreos and coat in dark chocolate for a completely different but equally delicious version
- Golden Oreo base — Use Golden Oreos instead of classic for a lighter, vanilla-flavoured filling that pairs beautifully with white chocolate

No-Bake Reese’s Oreo Balls (Simple, Indulgent & Utterly Irresistible)
No-Bake Reese’s Oreo Balls made with crushed Oreo biscuits, smooth peanut butter, and cream cheese, dipped in a glossy chocolate shell and finished with a peanut butter drizzle and crushed Reese’s Pieces. A simple, indulgent no-bake treat perfect for parties, gifting, and every occasion in between.
- Total Time: 50 minutes
- Yield: 20–24 balls 1x
Ingredients
- 300g Oreo biscuits (approximately 30 biscuits)
- 200g full-fat cream cheese, softened to room temperature
- 3 tbsp smooth peanut butter (Reese’s or any good quality brand)
- 1 tsp vanilla extract
- 300g milk or dark chocolate, for coating
- 50g peanut butter chips or 2 tbsp smooth peanut butter, for drizzling
- Crushed Reese’s Pieces, to decorate
Instructions
- Place the Oreo biscuits in a food processor and blitz to fine crumbs. Alternatively, crush in a zip-lock bag with a rolling pin until no large pieces remain.
- Transfer the crumbs to a large bowl. Add the softened cream cheese, peanut butter, and vanilla extract. Mix until fully combined and a thick, dough-like mixture forms.
- Line a baking tray with parchment. Scoop tablespoon-sized portions and roll into smooth balls (makes approximately 20–24). Place on the tray and freeze for 20–25 minutes or refrigerate for at least 1 hour until completely firm.
- Melt the chocolate in 30-second microwave intervals, stirring between each, until smooth. Allow to cool for 4–5 minutes.
- Using a fork, dip each chilled ball into the melted chocolate, allow the excess to drip off, and place back on the parchment-lined tray.
- While the chocolate is still wet, drizzle with melted peanut butter chips and scatter over crushed Reese’s Pieces. Leave to set in the fridge for 10 minutes or at room temperature for 15–20 minutes before serving.
Notes
- Ensure cream cheese is fully softened before mixing to avoid lumps.
- Chill the balls until completely firm before dipping — this is essential for a clean coating.
- Allow melted chocolate to cool slightly before dipping to prevent the filling from melting.
- Store in an airtight container in the fridge for up to 1 week.
- Freeze for up to 2 months — thaw overnight in the fridge before serving.
- Reese’s products are available in most major UK supermarkets and American sweet shops.
- Prep Time: 25 minutes
- Cook Time: 0 minutes
- Category: No-Bake Treats
- Method: No-Bake
- Cuisine: American-Inspired
- Diet: Vegetarian
Nutrition
- Serving Size: 1 ball
- Calories: 145
- Sugar: 11 g
- Sodium: 95 mg
- Fat: 9 g
- Saturated Fat: 4 g
- Unsaturated Fat: 4 g
- Trans Fat: 0 g
- Carbohydrates: 15 g
- Fiber: 1 g
- Protein: 2 g
- Cholesterol: 10 mg
Keywords: no bake Reeses Oreo balls, Reeses Oreo truffles UK, no bake chocolate peanut butter balls, Oreo truffles UK, easy no bake treats UK, peanut butter Oreo balls, chocolate truffle recipe UK, no bake party treats
Frequently Asked Questions
Can I make these ahead of time?
Absolutely. These are an ideal make-ahead treat. The finished balls can be made up to 2 days ahead and stored in an airtight container in the fridge. For longer storage, freeze for up to 2 months and thaw in the refrigerator overnight before serving.
Do I need a food processor?
No — a zip-lock bag and a rolling pin work perfectly well. The key is to crush the Oreos into very fine crumbs with no large pieces remaining, which gives the filling its smooth, fudgy texture.
Why are my Oreo balls falling apart when I dip them?
This usually means the balls were not chilled for long enough before dipping, or the melted chocolate was too hot and began melting the filling. Make sure the balls are completely firm before you start dipping, and allow the chocolate to cool for a few minutes after melting before using it.